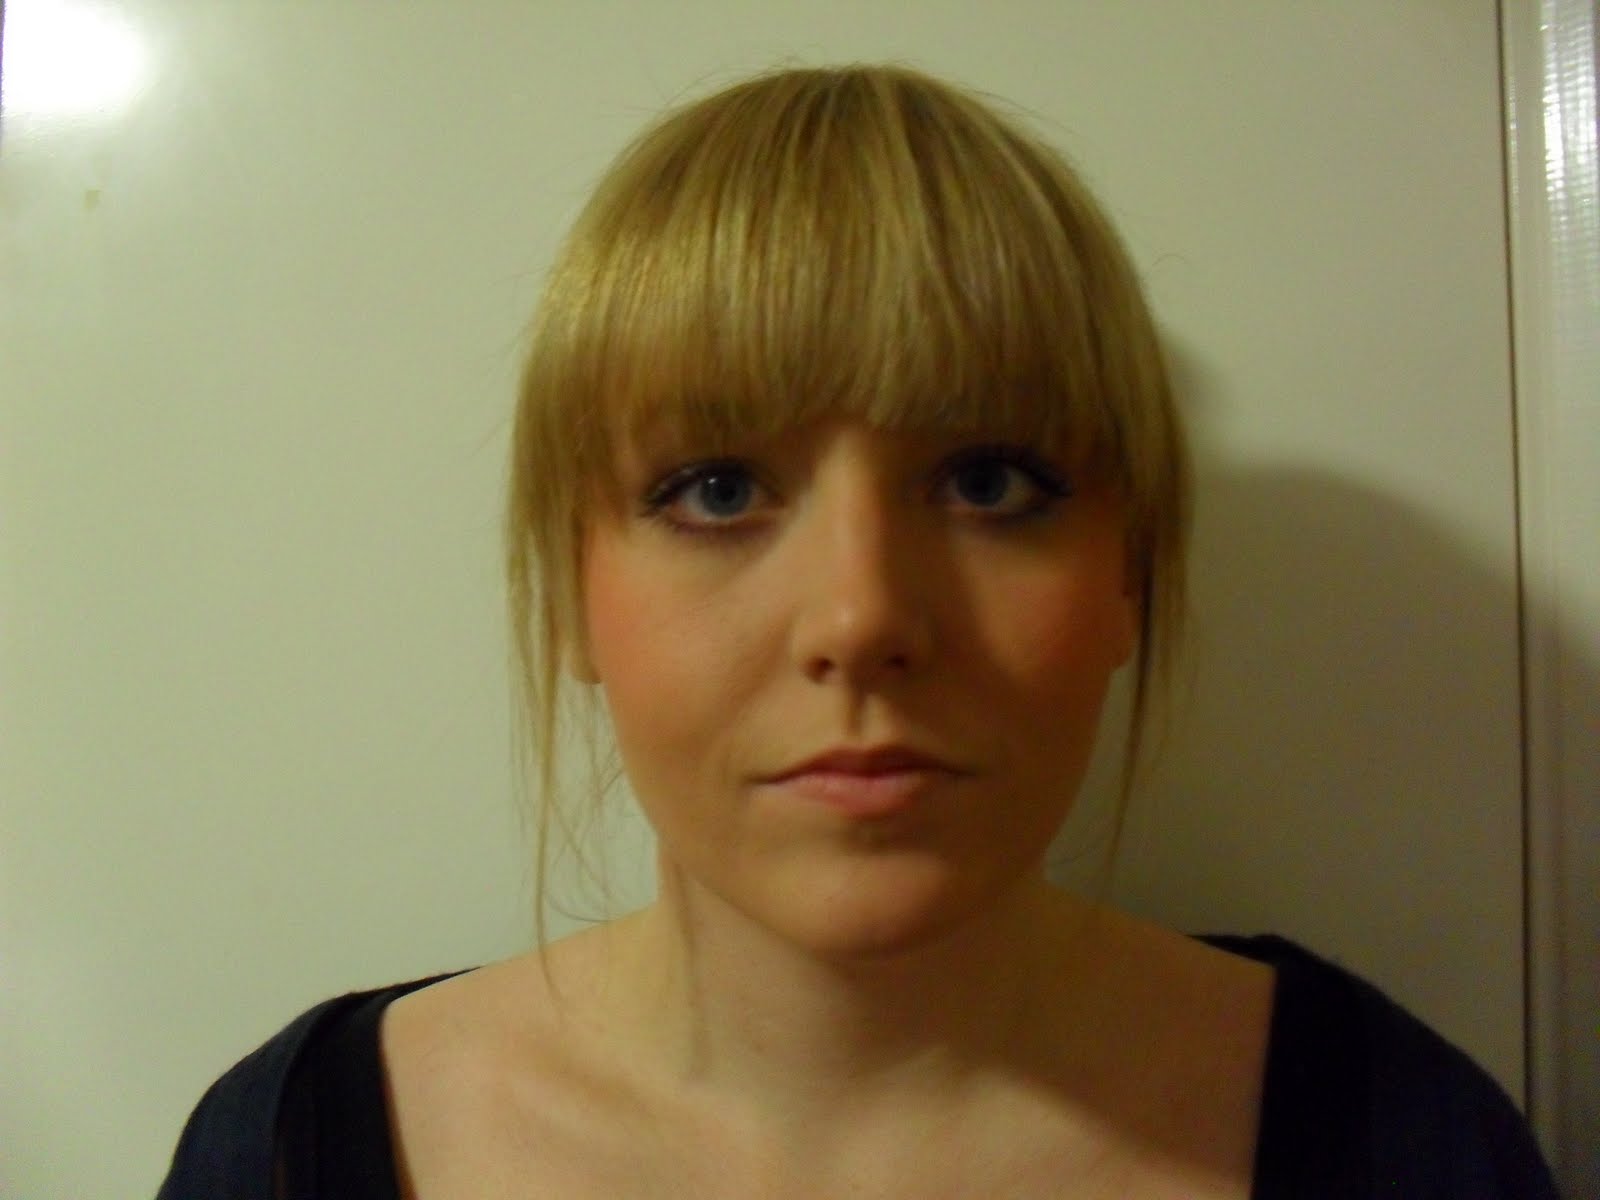
 The photo above was taken with no special setting and no special lighting, as it was just natural light which contributed to this photo.
 This photograph again was taken with no special setting but this time a spotlight which was positioned on the floor was used, which I didn't think looked much different from the previous
 This photograph was shot with no special settings on my camera but this time the spot light was alot closer and was positioned directly into the face which you can tell by the shadows created.
This photograph was shot with the "soft" style on my camera, with general extra lighting, which I think you can tell because the colours seem a lot more softer to the eye.

This was also shot with the "soft" style on my camera with no extra lighting like the previous.
 This shot was taken by the "vivid" style on my camera with no extra lighting.
 This shot was taken with the "vivid" style on my camera with general extra lighting unlike the previous one.
This photo was taken with the "Vivid" style again but this time I shone a red light from underneath the brighten up the face which I think it did successfully with a reddy/pinky tinge.
 This photograph was taken with the "Forest" style with no extra lighting.
 I really like this photograph I think it's one of my favourites from what I took. I took this on the "Forest" style but this time with a shot light to a left of the photo. I like the effect of the shadow.
 This photograph was took using the "Retro" style on my camera and the spotlight was a little bit above the head but was shining directly onto the face, which I thought gave a good balance.
 This photograph was taken using the "Cool" style, with just natural light.
 This photograph was taken with the "cool style" with the light directly on the face.
 This photo was also taken with the "Cool" style but this time with the light slighty to the right directing it to the left, as you can see by the shadow.
This photo was taken with the "Cool" style again but this time with the light to the left, however this didn't really create a shadow which I was suprised about.
 This was just in "Calm" mode with no extra lighting.
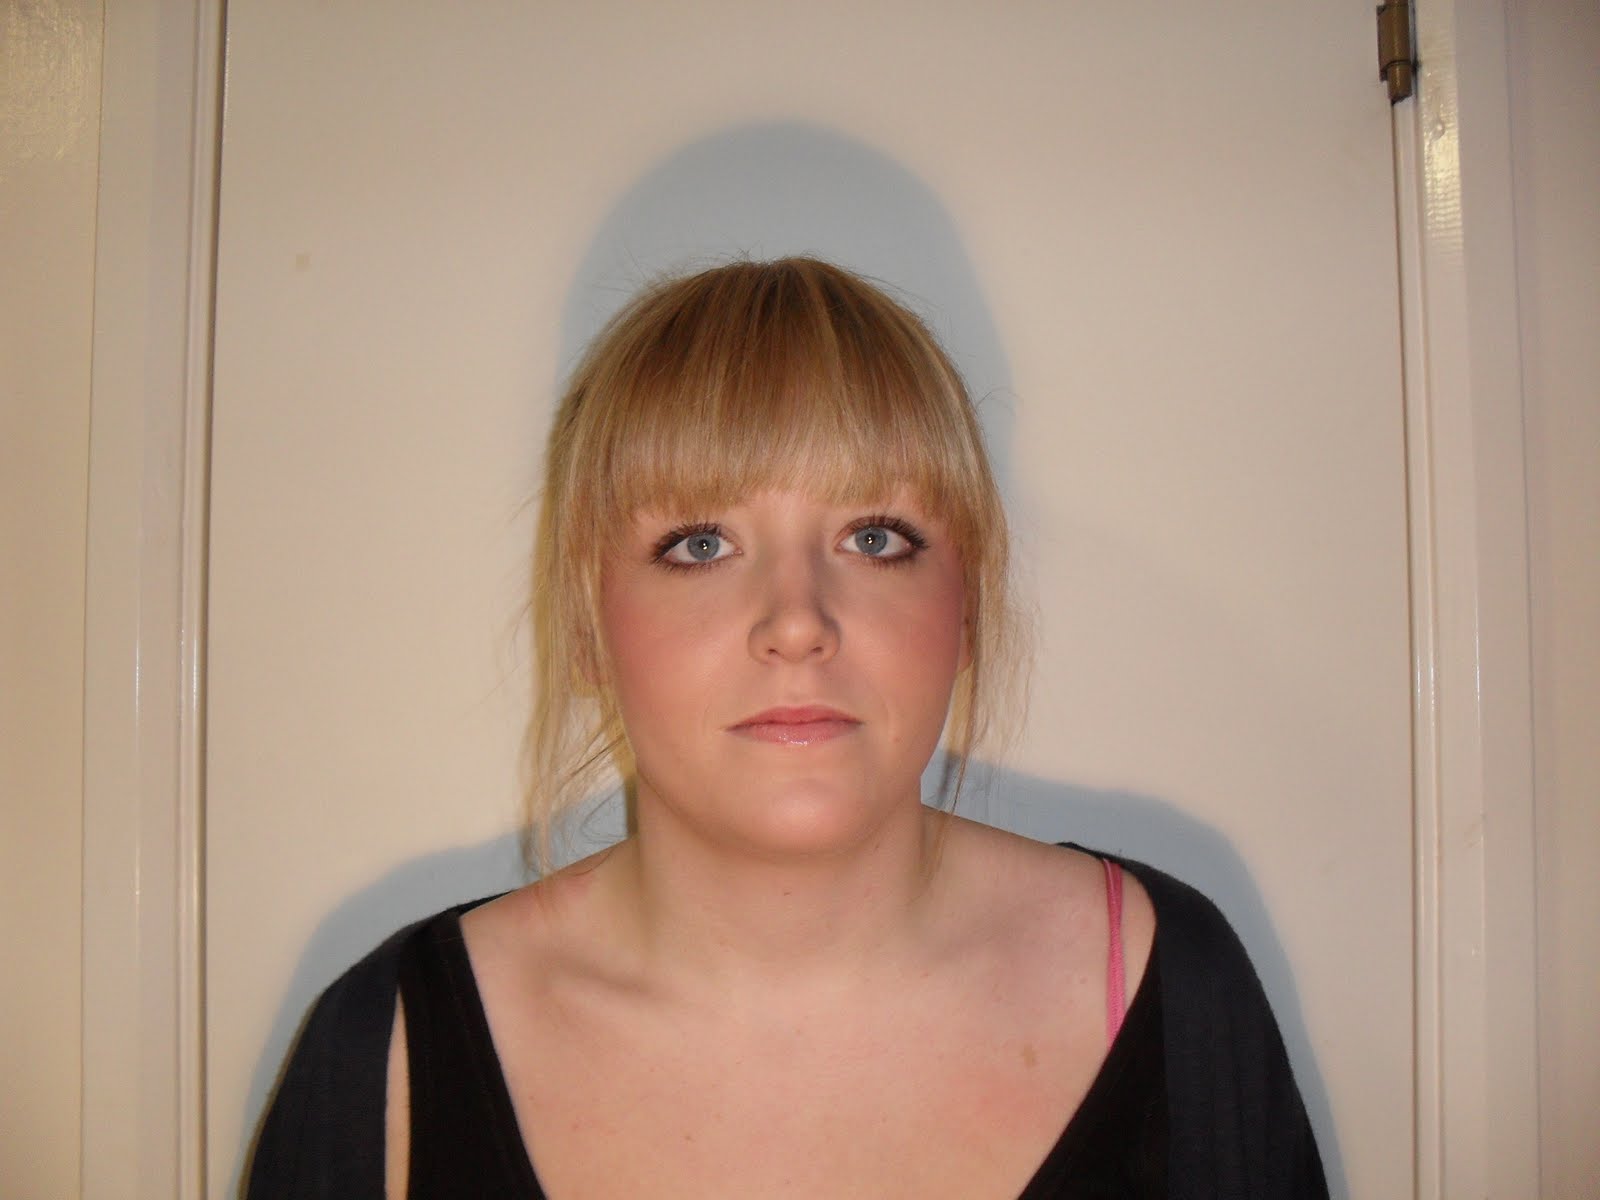 This photo was in "Calm" mode again with the light face on which created a nice shadow.
 This photo was again in "Calm" mode with the spot light closer up to the neck.
 The next six photo's including the one above are in classic mode, which out of all the mode's I thought it took the majority of the best pictures. This was was taken with no extra lighting.
 This was taken with a light directly on the face which I liked the effect of the shadow.
The light on this one was positioned to the left of the face shining to the right.

This was one of my favourite photo's and I could imagine it on the cover of dazed and confused magazine with that kind of style. I love the dark and lighter shades with the contrast of the shadow too. This effect was made by putting the spot light closer to the neck.

This is another one which I quite liked, with this one I put the light to the left side shining over to the right.
 Out of all of them this was my favourite with the effect of the light elongating the neck and the elegance of the photography. Here I positioned the model slightly facinf the right whilst their head was tilted upwards whilst looking slightly down. I positioned the spotlight up the neck which I think works very well.
 The next four photographs are all in negative tones but with slightly different lighting. I wasn't a fan of any of these pictures. This is with natural light.
 This one is with the light underneath to the left shining upwards to the right.
 This photograph was with the spot light shining onto the fringe.
 Finally this is one with the light to the neck.
No comments:
Post a Comment